
Start by stamping a solid image on black (or other dark) cardstock with White Daisy Pigment Ink.

Stamp desired pattern onto cardstock.

Use heat tool to heat-set image.

Choose 3 colors of watercolor pencils from the same color family to color image. I chose greens and blues to go with Magnifique papers.

Begin with the lightest shade in the center of the image.

Continue with all the images that will be in that color family.

Use the next darker shade around the center color, overlapping in places. Press hard with the pencils.

Finally, use darkest shade around the edges of image, then finish the same steps with other colors.

If you have a white gel pen, that will work for the next step. Since I didn't, I improvised with a blending pen and White Daisy ink. It worked really well.

Add interesting dots around images, randomly or in a pattern you like.

Complete colored images with white dots.

Attach piece to card base and embellish as desired. Have fun trying Black Magic, and show me what you come up with!
 Start by stamping a solid image on black (or other dark) cardstock with White Daisy Pigment Ink.
 Stamp desired pattern onto cardstock.
 Use heat tool to heat-set image.
 Choose 3 colors of watercolor pencils from the same color family to color image. I chose greens and blues to go with Magnifique papers.
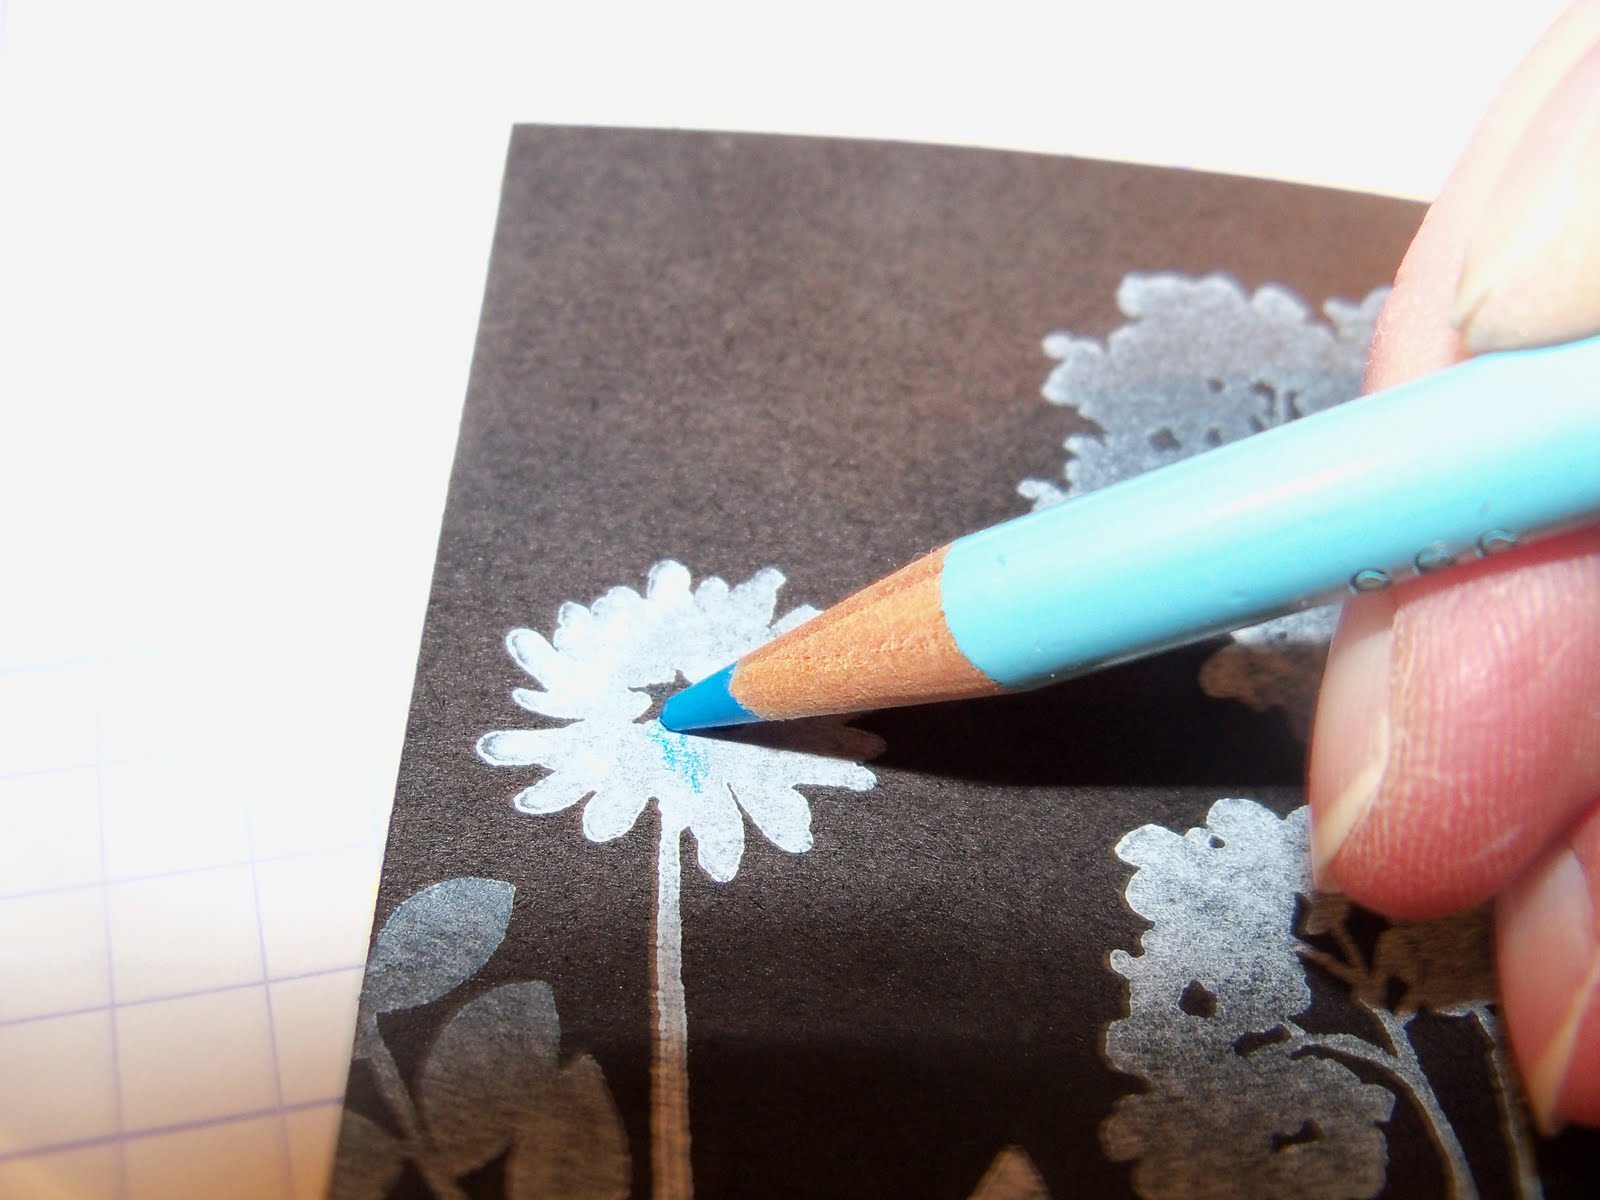 Begin with the lightest shade in the center of the image.
 Continue with all the images that will be in that color family.
 Use the next darker shade around the center color, overlapping in places. Press hard with the pencils.
 Finally, use darkest shade around the edges of image, then finish the same steps with other colors.
 If you have a white gel pen, that will work for the next step. Since I didn't, I improvised with a blending pen and White Daisy ink. It worked really well.
 Add interesting dots around images, randomly or in a pattern you like.
 Complete colored images with white dots.
 Attach piece to card base and embellish as desired. Have fun trying Black Magic, and show me what you come up with!
What a fabulous idea to use the White Daisy pigment ink. I have wanted to try this technique, but decided against it because I do not have a good white gel pen. But I do have that ink pad, and may give this a try this weekend.
ReplyDeletelove the technique. Hope to try it tomorrow.
ReplyDelete